Saturn Lamp
25 February 2025
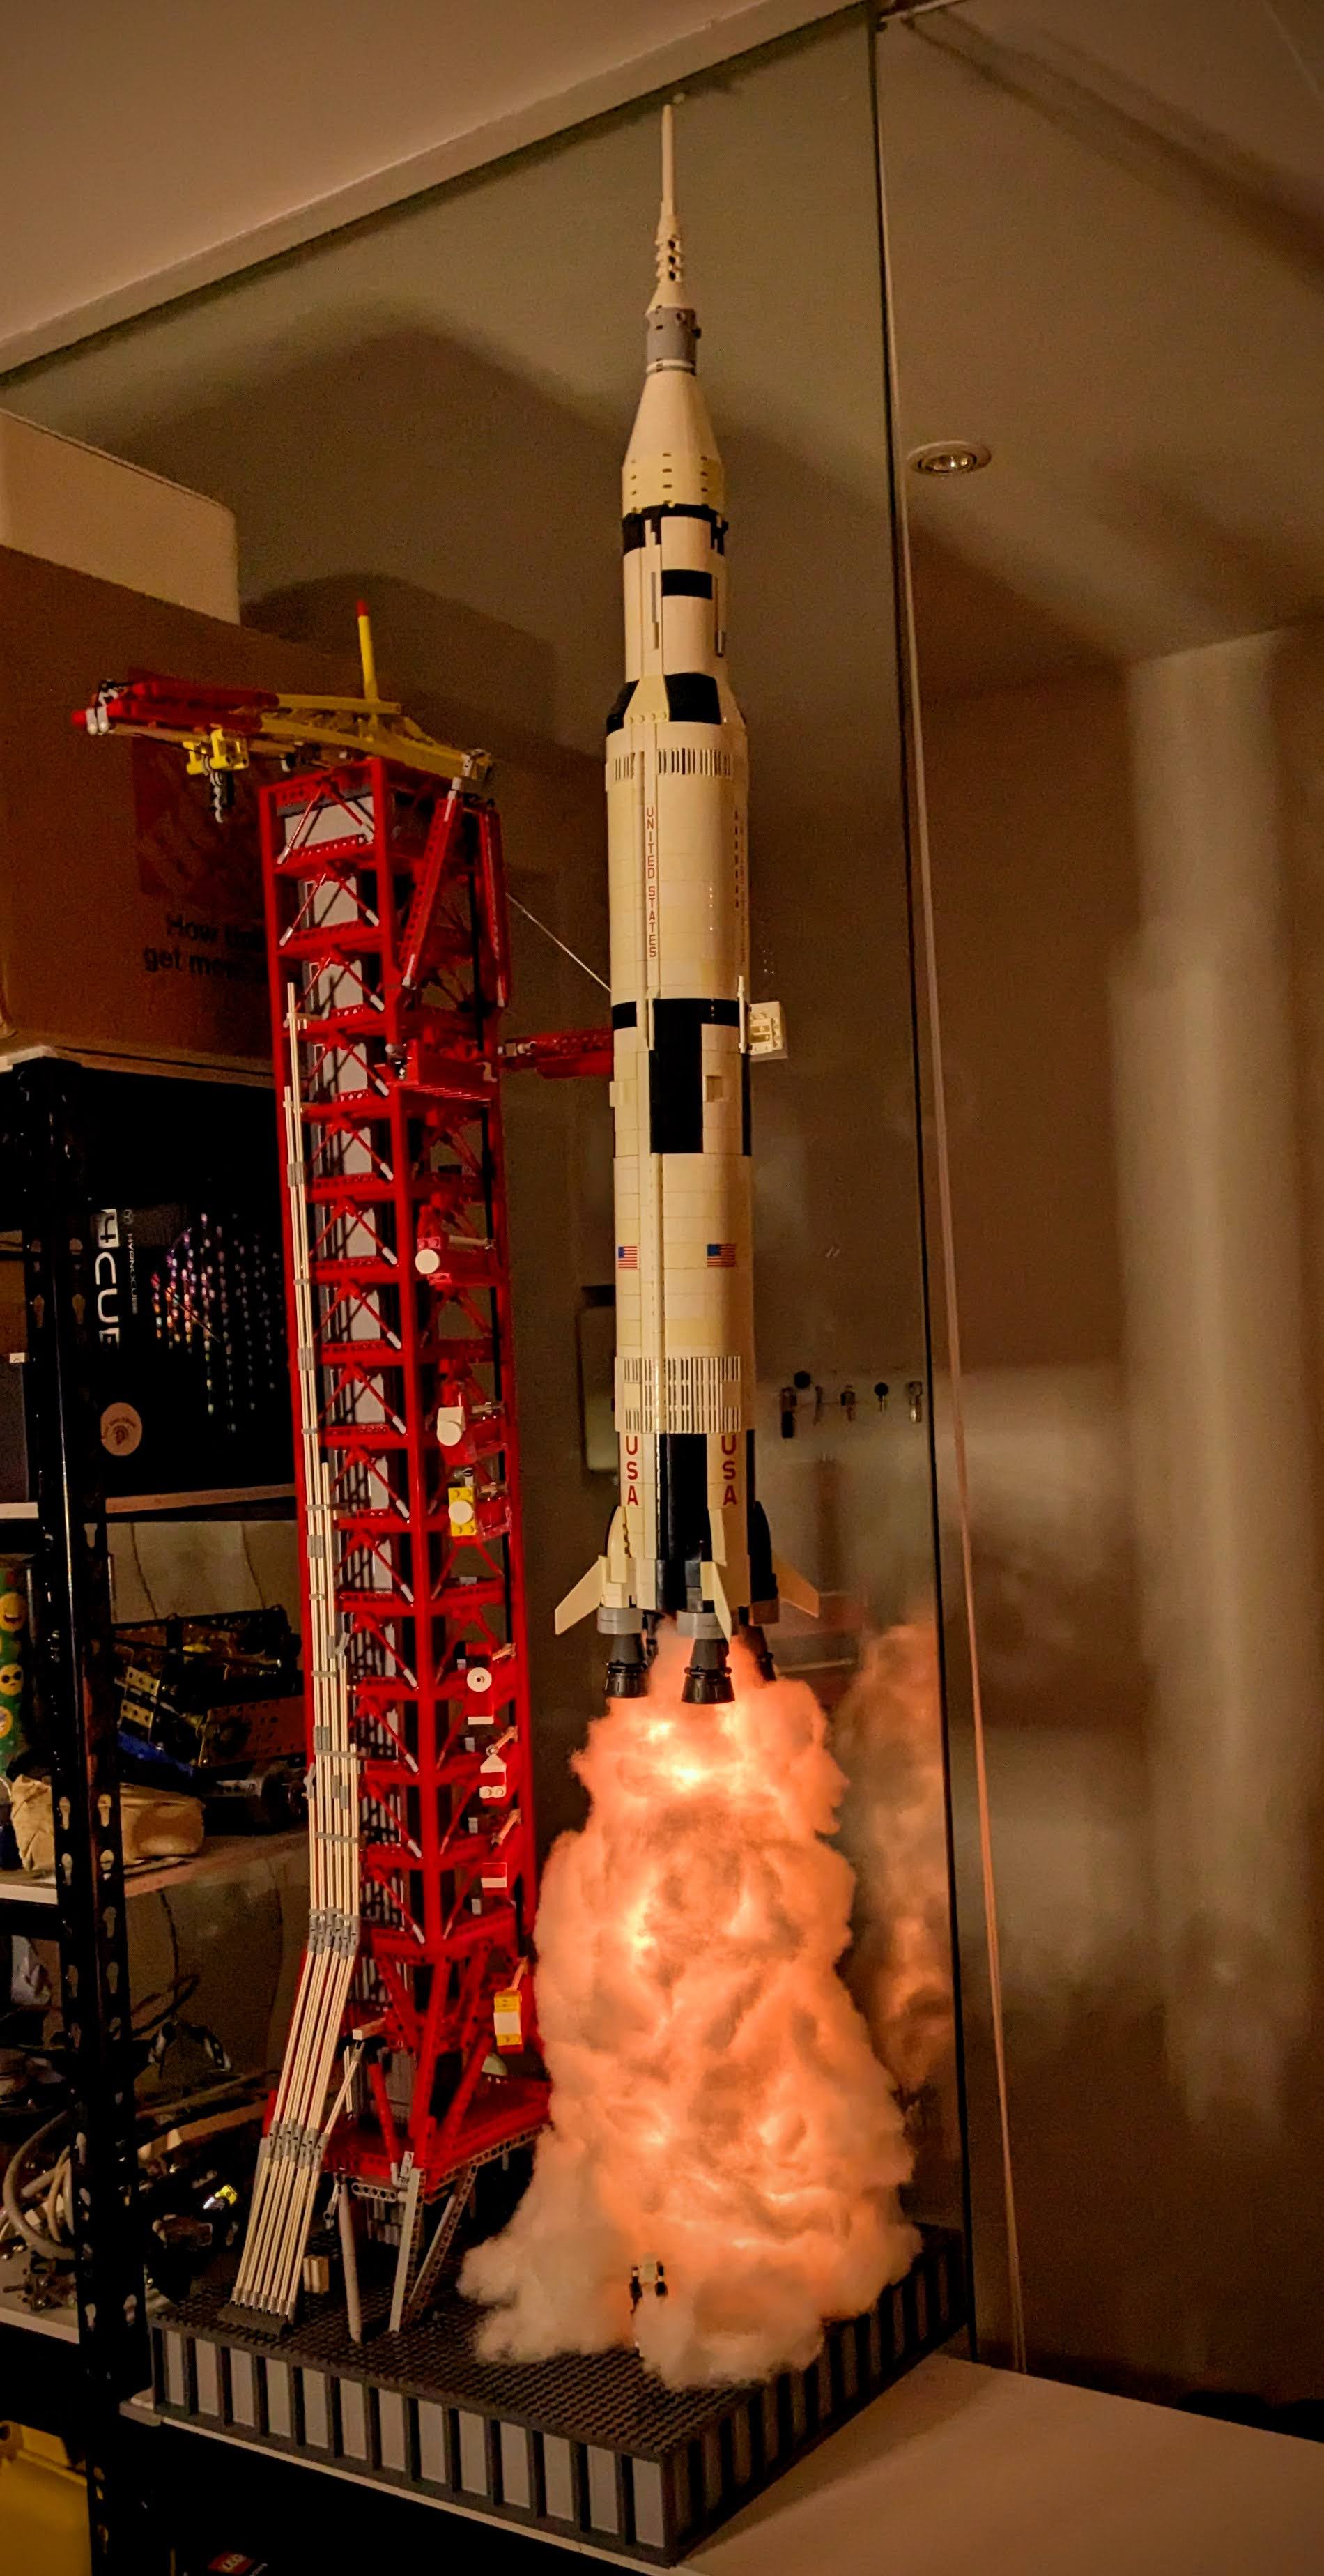
This is the new lamp at the entrance to my workshop.
This lamp has been seven years in the making. It started with Lego's amazing Saturn V model. Sierra and I assembled it back in 2017, with a little help from a tiny Beverly.
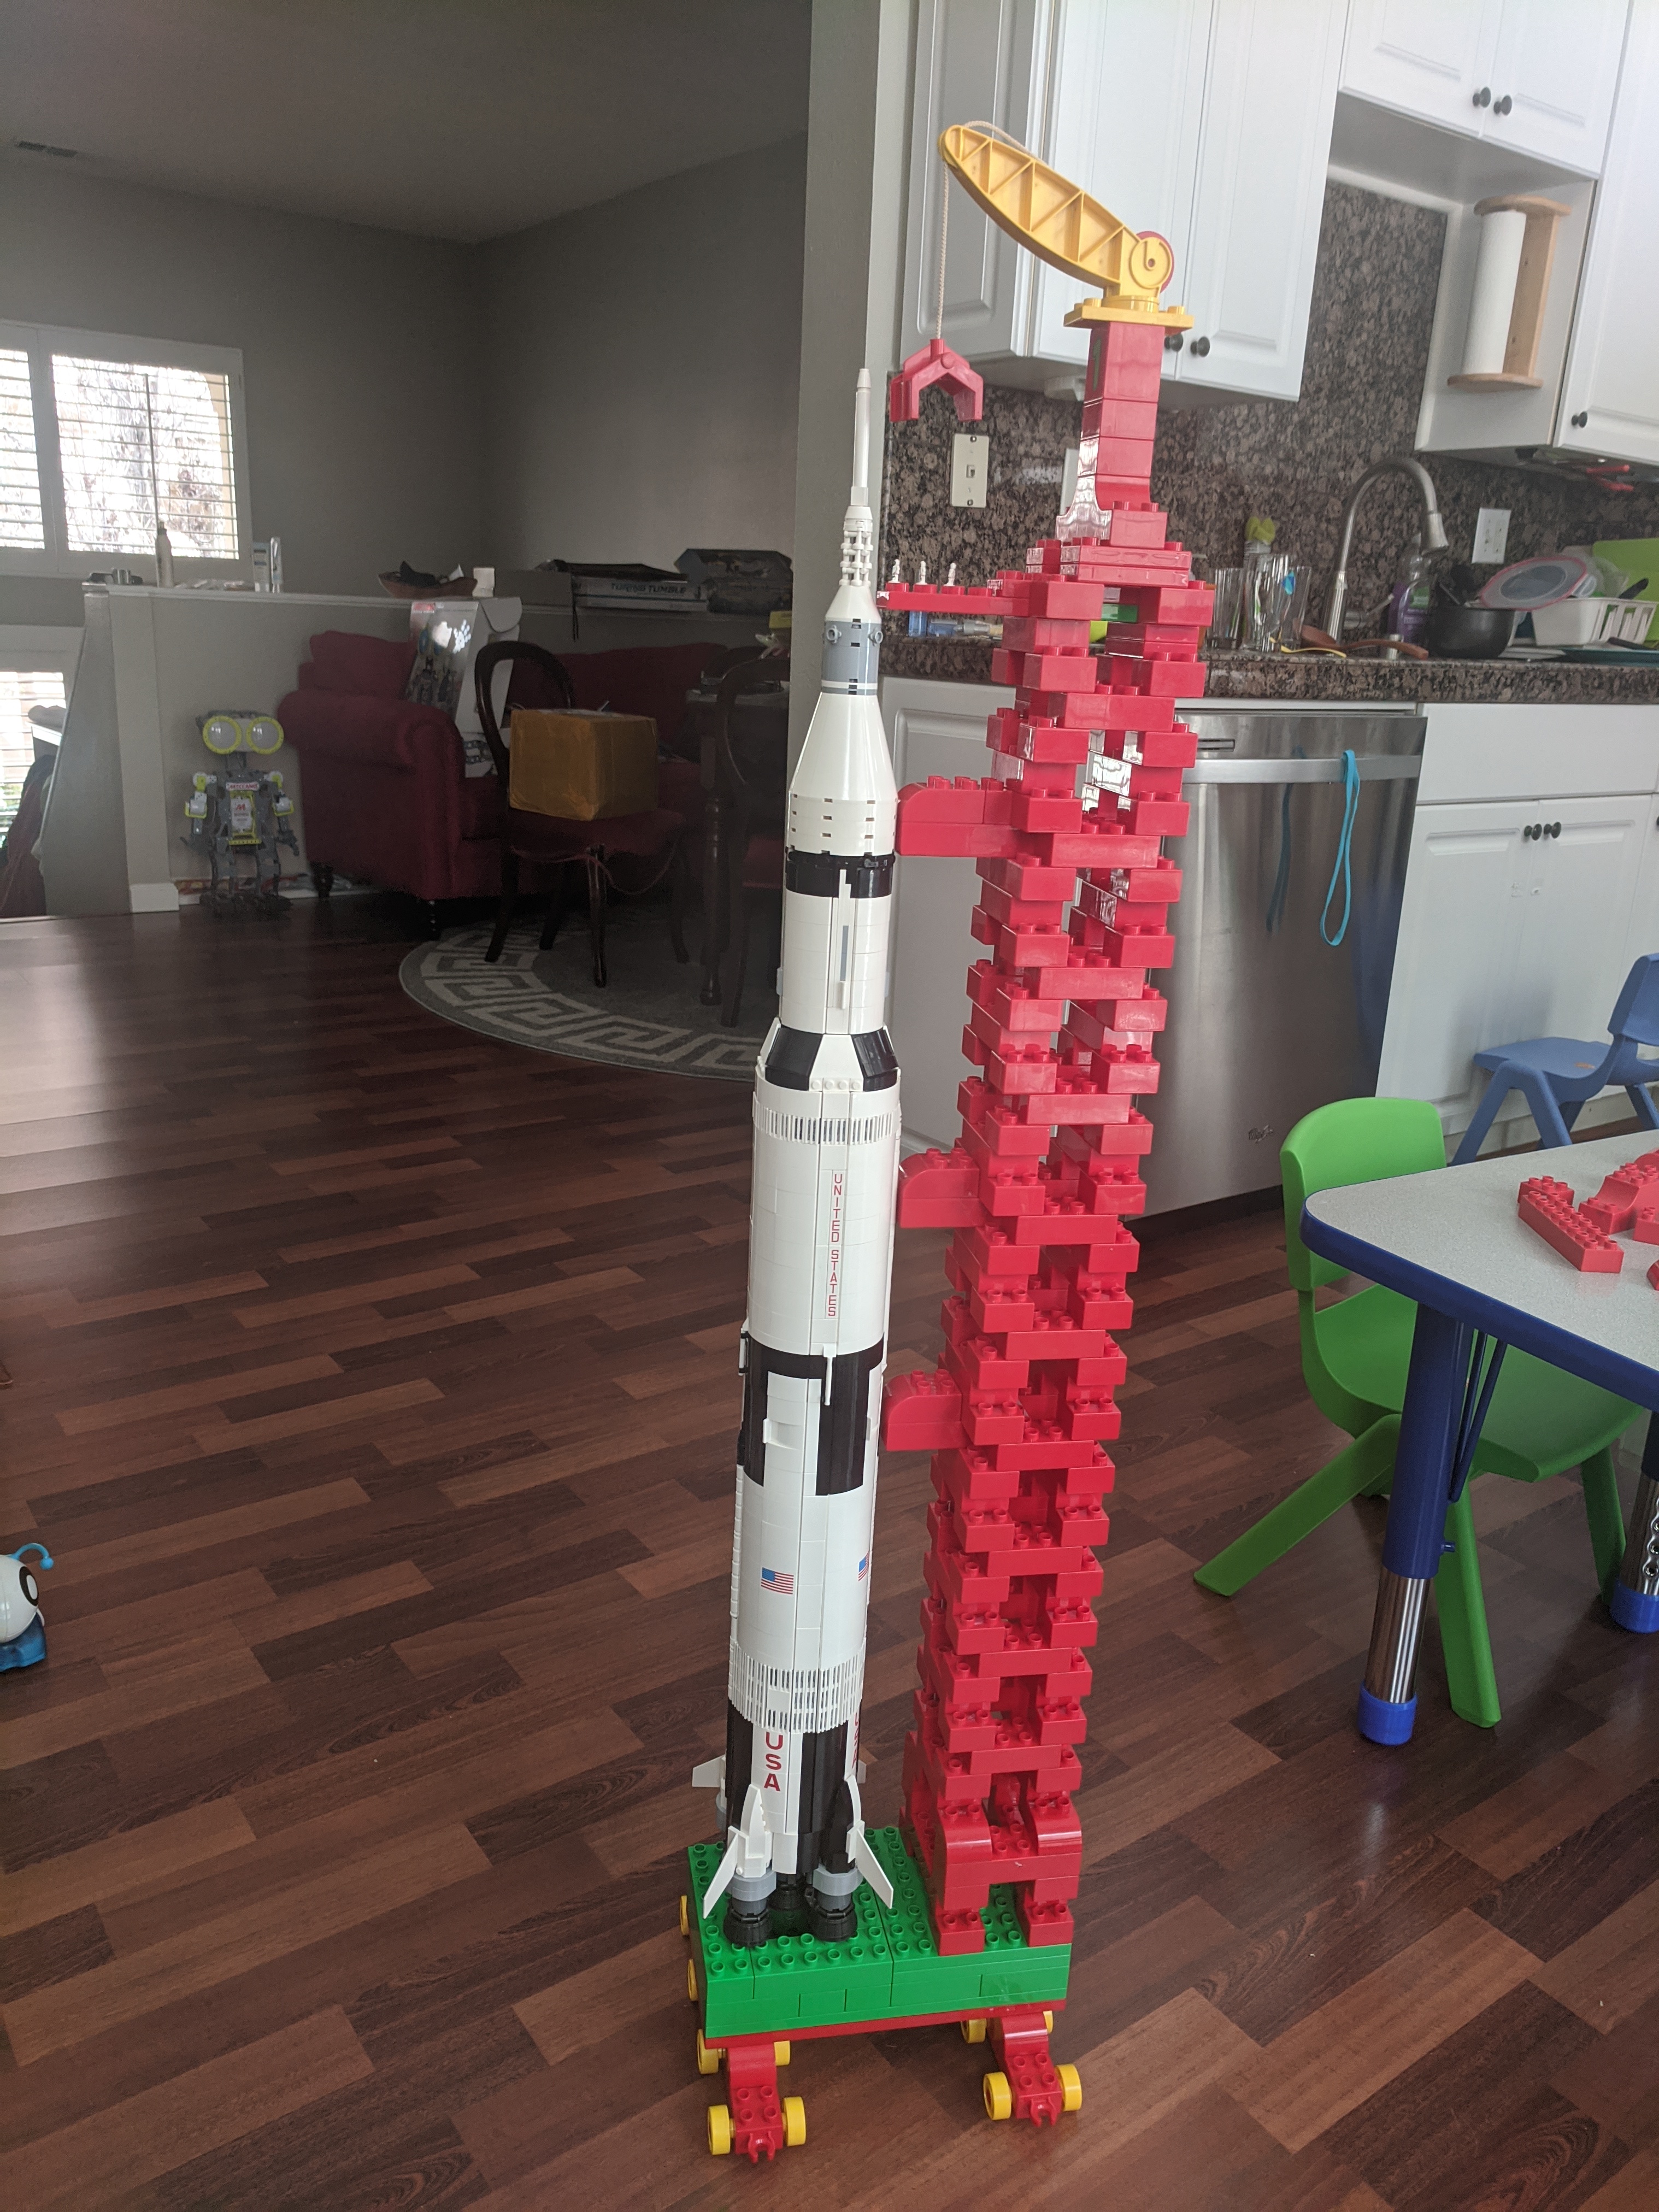
Despite many requests, Lego does not have a matching launch tower for their Saturn V. My first attempt to make a tower was to use Beverly's large Duplo collection. It actually turned out pretty well. Here's a super cute video of Beverly with her tower.
With Lego not providing what fans wanted, Chinese knock-off Lego companies swooped into fill the gap. Thus I ordered a Saturn V launch tower set from AliExpress for $150. As expected, the dimensional quality of the bricks is questionable. Some bricks have zero clutch power, while others literally need a vice to connect. Some parts required light sanding to prevent the tower from developing a noticeable lean. More problematic is that the model was designed in CAD, not recognizing the weight problems inherent in large real-world structures. Building the tower took a lot of redesigning and problem solving.
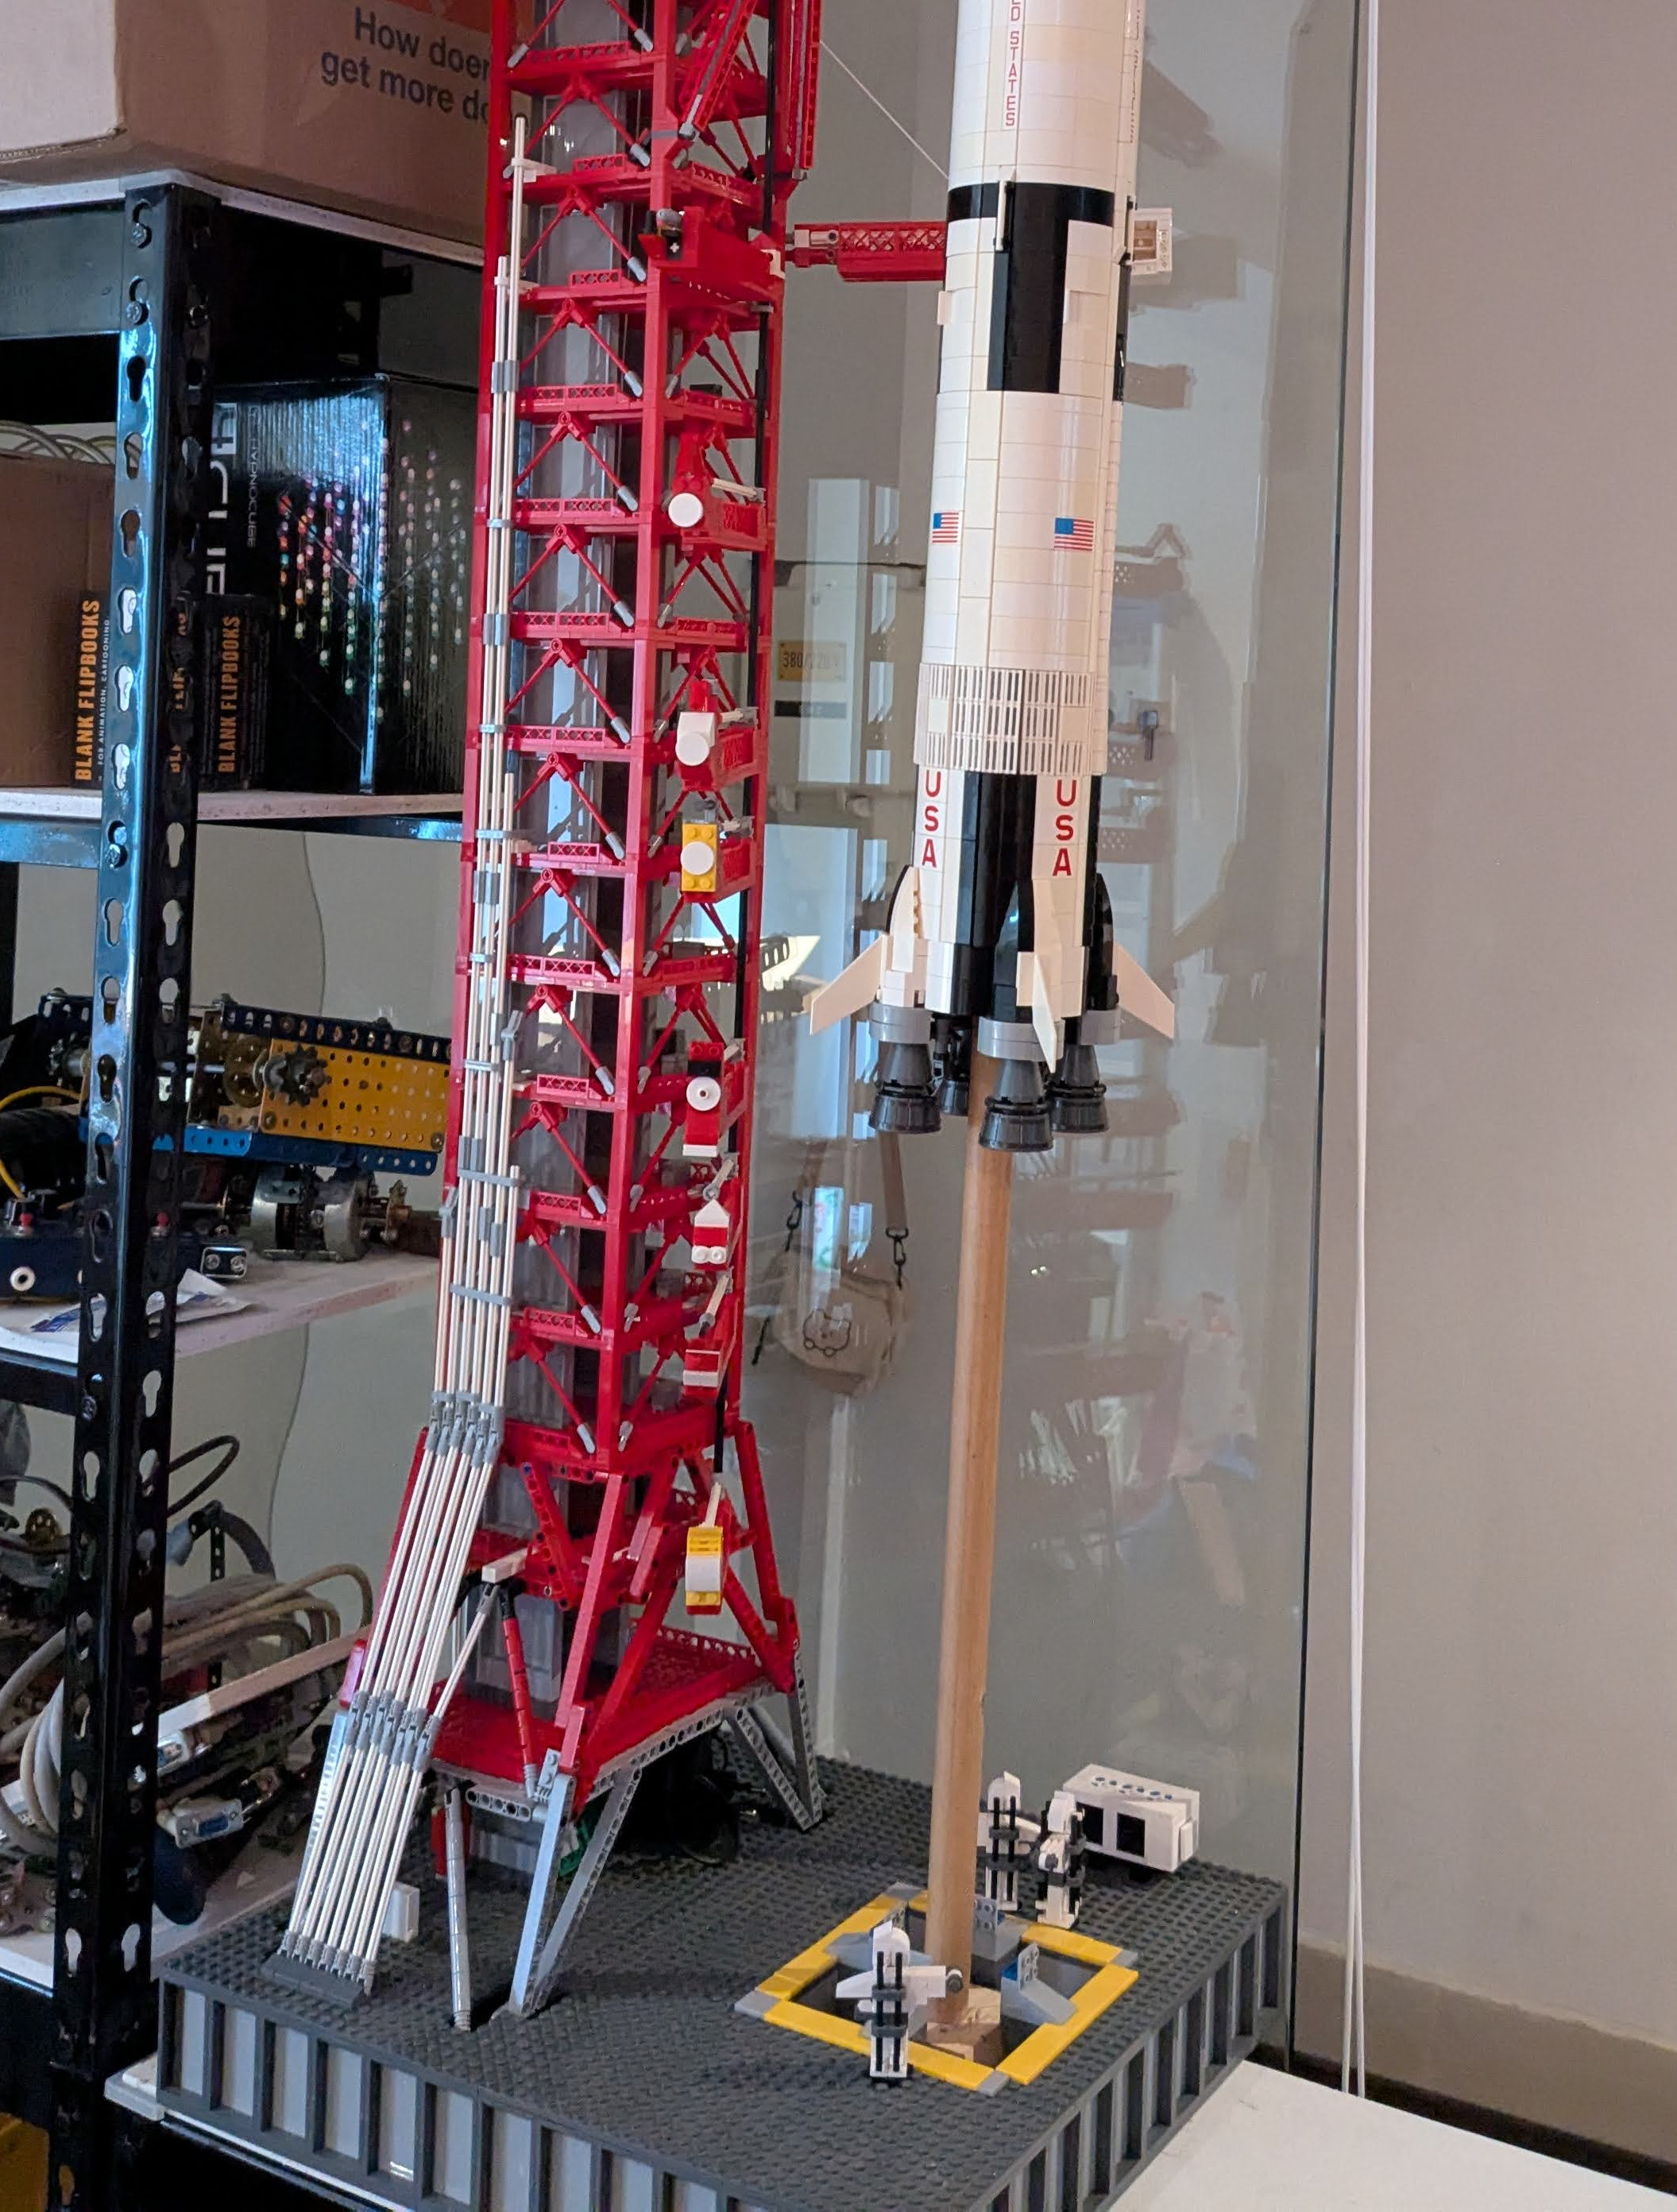
Since I wanted the rocket to be lifting off, I used the stick from a broken broom to mount the Saturn V part way up the tower. The broomstick is the only connection to the rocket, the tower arms are all retracted.
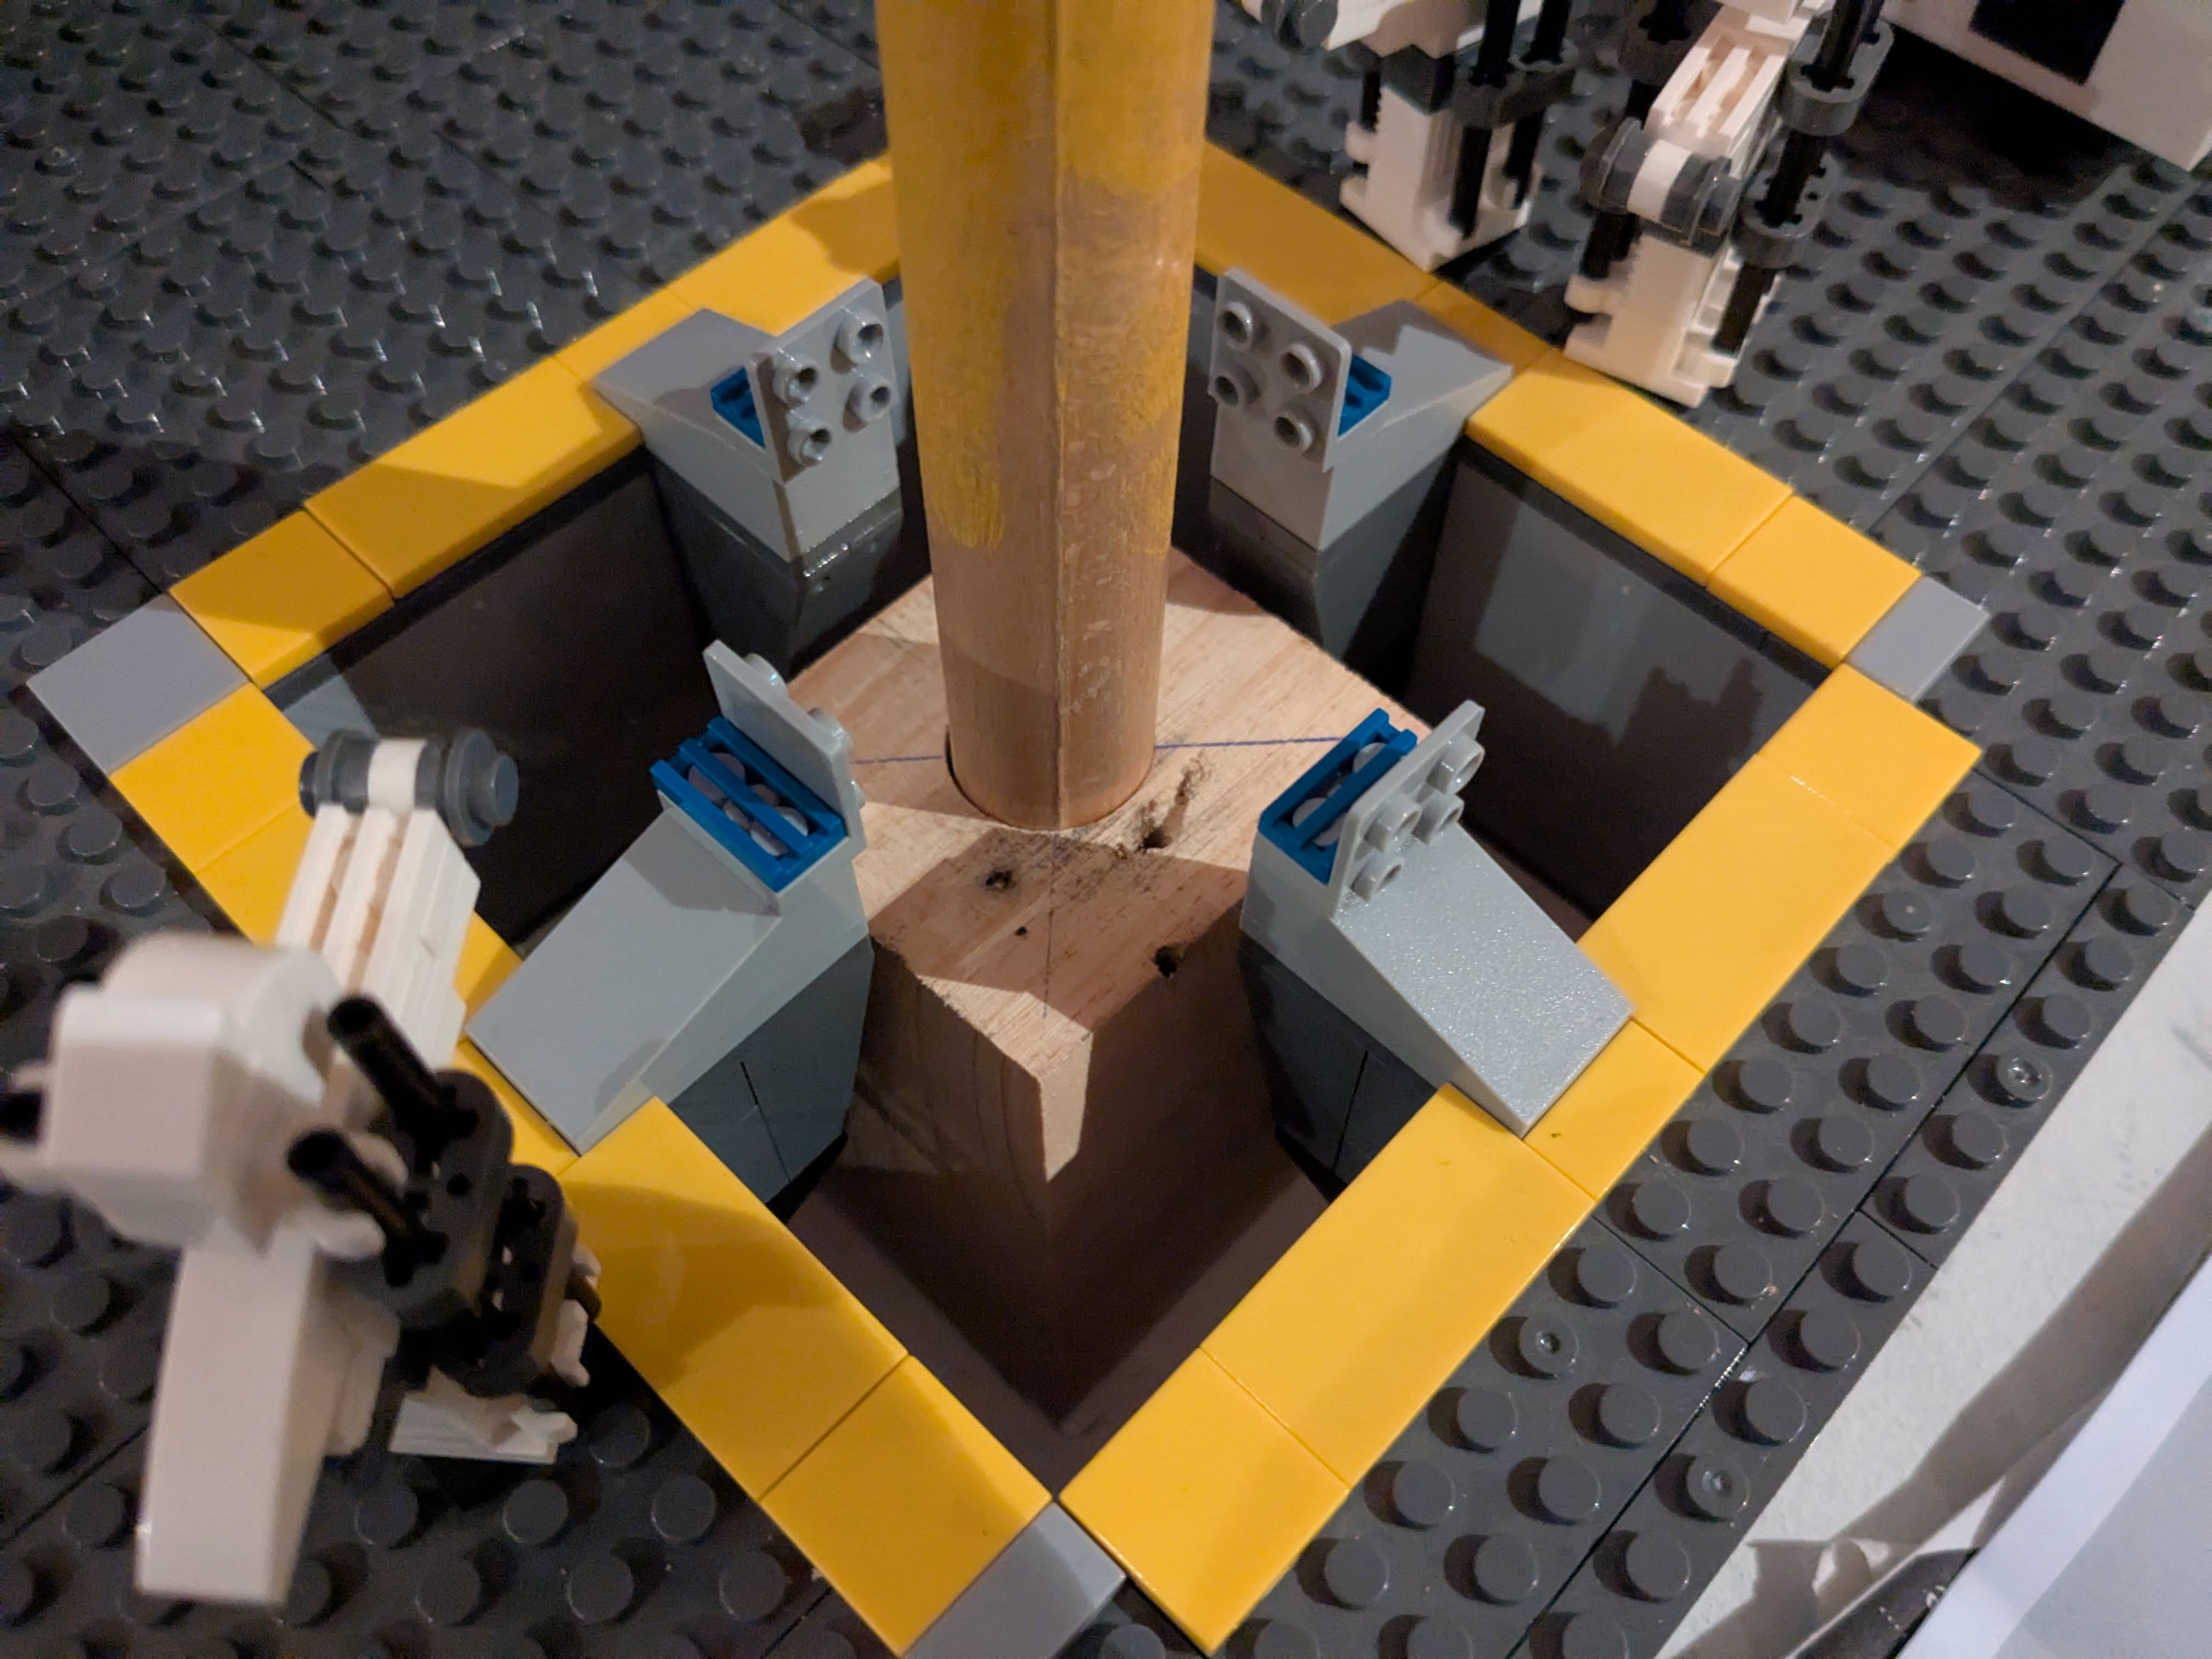
The bottom of the broomstick rests in a big block of wood screwed into the underlying wooden shelf. The hole in this block is intentionally very slightly over-size, which means the rocket leans by a few degrees. This is realistic, NASA was terrified of the rocket contacting the tower (due to a gimble error, or a gust of wind). Were it to touch the tower, the fuel tanks would rupture and the rocket would explode with the power of a small nuclear weapon. It was the single greatest risk of the mission and is why they always excitedly announced "the vehicle has cleared the tower".
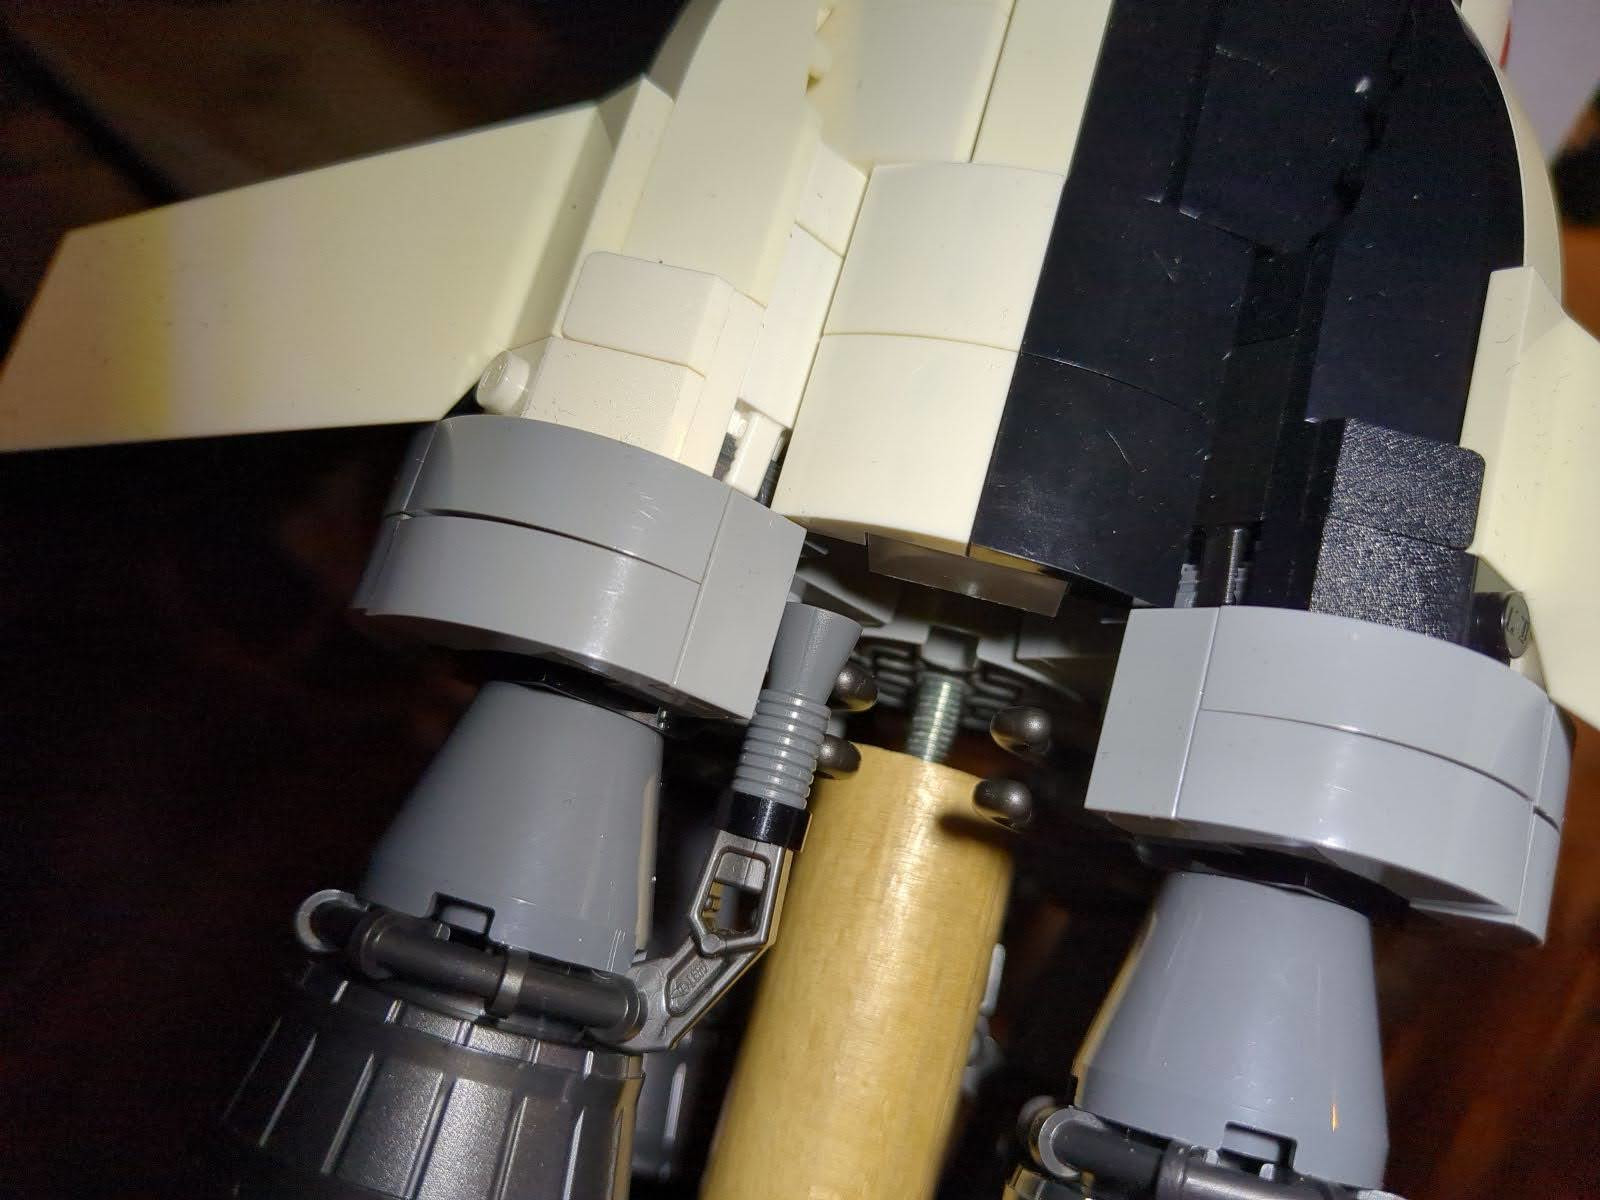
The other end of the broomstick has a hole down the middle of it (that was a challenging setup on the drill press). A 5mm threaded rod screws into the broomstick, and connects it securely with the rocket. Obviously the center engine had to be removed. Furthermore three Lego pieces needed to be drilled out so the rod would extend through to the top of the RP-1 tank of the first stage.
The final step was to wrap 1m of USB-powered LED strips around the pole, then fluff 100g of polyester fiber around the pole. I'm really happy with the result.